
Set the restaurant’s reference location (Point A) and choose the timezone used for store hours and other time-based operations.
Open Store Settings
From the restaurant dashboard, open Store Settings. This guide focuses on the Restaurant Location and Store Timezone sections.
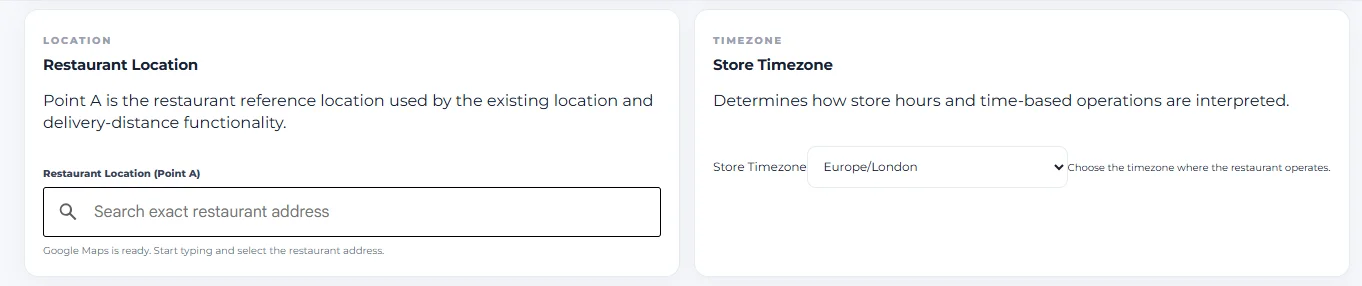
Set Restaurant Location (Point A)
In Restaurant Location, use Restaurant Location (Point A) to set the restaurant’s reference location. The Store Settings screen states that Point A is used by the existing location and delivery-distance functionality.
Search for the exact restaurant address
Start typing the restaurant’s exact address in the location field. When Google Maps is ready, the screen instructs you to start typing and select the restaurant address.
Point A is the reference location used by the existing location and delivery-distance functionality, so confirm that the selected address represents the restaurant location you intend to use.
Choose the Store Timezone
In Store Timezone, choose the timezone where the restaurant operates. The captured screen shows Europe/London.
Understand what the timezone controls
The Store Settings screen states that the timezone determines how store hours and time-based operations are interpreted.
Select the timezone for the location where the restaurant operates so the system can interpret store hours and time-based operations using the intended local time.
Save the Store Settings
After confirming the restaurant location and timezone, use Save Store Settings to save the configuration.
Your restaurant now has a reference Point A for the existing location and delivery-distance functionality, together with the timezone used to interpret store hours and time-based operations.